
Quick answer: A conservatory roof insulation installation typically takes one to two days. It involves an initial survey, structural checks, preparation of the space, fitting insulation materials to the roof framework, and a final quality inspection. Most homeowners experience minimal disruption when the work is carried out by a professional installer.
Booking the job is often the easy part. What keeps many homeowners awake is the question that comes after: what actually happens on installation day? Will there be scaffolding blocking the garden for weeks? Will dust get through the whole house? What if it rains halfway through?
These concerns are completely understandable — and they’re also largely solvable. A well-planned conservatory roof insulation installation follows a clear, structured process that professional installers manage every day. Once you know what to expect at each stage, the whole thing feels far less daunting.
This guide walks you through the entire installation journey — from the initial survey to the final handover — so you can prepare your home confidently and know exactly what’s happening at every step.
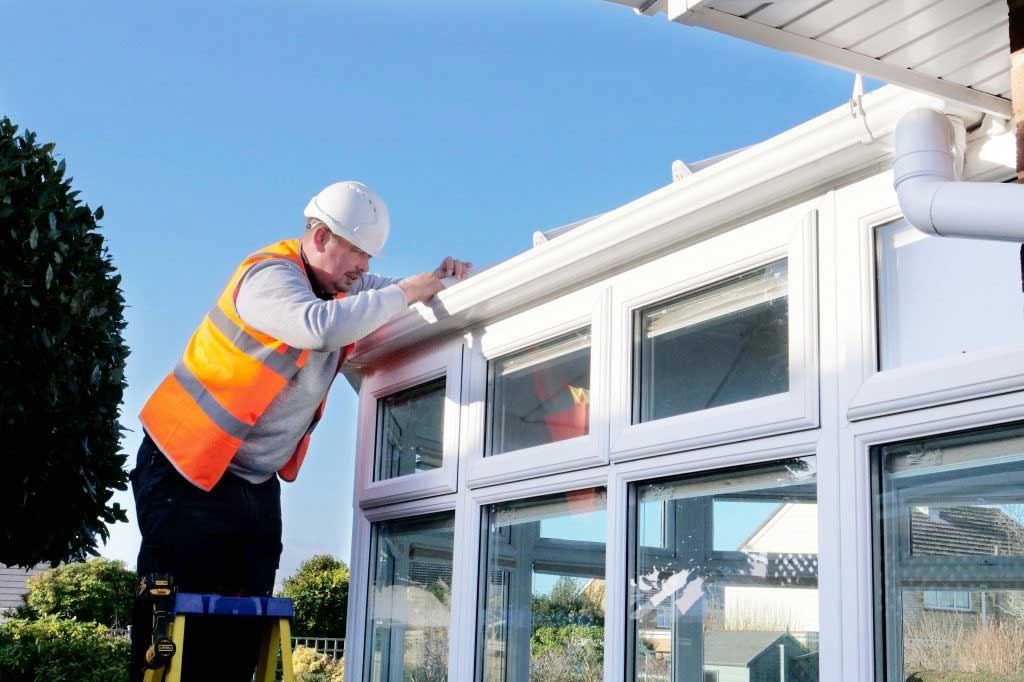
Understanding the Conservatory Roof Insulation Installation Process
Before any insulation goes up, it helps to understand what the installation process actually involves.
Most professional conservatory roof insulation jobs fall into one of two categories: internal insulation (where a new insulated ceiling is fitted beneath the existing roof) or a full roof replacement (where old polycarbonate or glass panels are removed and replaced with a solid, tiled structure). The process described here focuses primarily on internal insulation, which is the most common approach for homeowners looking to improve comfort without a full roof replacement.
At a high level, the stages look like this:
- Pre-installation survey — structural checks, insulation type selection, and compliance review
- Preparation — clearing the conservatory, protecting flooring, and setting up access
- Installation — fitting the timber frame, insulation layers, and interior finish
- Quality checks — inspecting for gaps, ensuring waterproofing, and checking ventilation
- Handover — walkthrough with the homeowner, sign-off, and aftercare guidance
Each stage has a purpose, and skipping any of them can lead to problems down the line — poor thermal performance, condensation, or structural issues. That’s why professional installation matters so much.
According to guidance published by LABC Front Door, replacing or significantly upgrading a conservatory roof requires a building regulations application, and building control will inspect the existing structure to confirm it can carry the additional load. An experienced installer handles this for you — but it’s important to know it’s part of the process, not an optional extra.
Step-by-Step Installation Timeline
Here’s how a typical conservatory roof insulation installation unfolds, with realistic time estimates for each stage.
Day 1, Morning: Survey and Structural Assessment (1–2 hours)
Before any materials arrive, your installer carries out a final on-site assessment. This includes:
- Checking the existing roof and frame for any signs of damage, leaks, or damp
- Confirming the structure can support the insulation materials
- Identifying where heat loss is occurring
- Reviewing any building regulations requirements
The Planning Portal confirms that significant changes to thermal elements such as roofs normally require Building Regulations approval, and the insulation upgrade must meet the thermal standards set out in Approved Document L. Your installer should confirm compliance at this stage — not after the work is finished.
If there are signs of structural distress, such as movement in the foundations or inadequate support around door frames, remedial work may be needed before insulation can proceed. This is rare, but it’s better to know early.
Day 1, Mid-Morning: Preparation and Access Setup (1–2 hours)
Once the survey is complete, the team prepares the conservatory and sets up safe working access. This typically involves:
- Moving or covering furniture and flooring
- Laying protective sheeting to catch debris
- Setting up scaffolding or access equipment (more on this in the next section)
- Organising materials outside the property
Preparation time varies depending on the size of the conservatory and the complexity of the access requirements.
Day 1, Main Works: Insulation Fitting (4–6 hours)
This is the core of the installation. For internal multi-foil insulation, the process involves:
- Fitting the timber framework inside the conservatory roof to hold the insulation in position
- Securing the multi-foil insulation to the frame, covering every section with no gaps
- Sealing and taping all joints to prevent heat from escaping
- Fitting the interior finish — usually white uPVC cladding or plasterboard — for a clean, finished look
For tiled roof systems, the process is more involved: existing panels are removed, a reinforced timber framework is installed, insulation boards are added, and tiles plus interior finishes are fitted. This typically takes two to three days.
Day 1 or Day 2: Quality Checks and Finishing (1–2 hours)
Once the main installation is complete, the team conducts a thorough inspection:
- Checking for any gaps or exposed sections in the insulation
- Confirming the structure is secure and weatherproof
- Assessing ventilation to prevent condensation build-up
- Tidying the space and removing all materials and waste
End of Installation: Handover
The installer walks you through the completed work, explains any maintenance requirements, and provides documentation. A standard installation — for internal insulation on a medium-sized conservatory — is typically completed within one day.
Access and Scaffolding Requirements
Access to the exterior of the roof is one of the most common concerns homeowners raise before installation. Here’s what to expect.
For internal insulation jobs, most of the work happens inside the conservatory, which significantly reduces the need for external scaffolding. Some access may still be needed at the eaves or ridge if flashing, sealing, or venting work is required.
For full roof replacements, scaffolding is usually necessary. The HSE’s guidance on scaffolding is clear that scaffolds must be designed, erected, altered, and dismantled only by competent people, under the supervision of a qualified individual. Your installer is responsible for ensuring this — it’s not something you need to arrange yourself.
A few practical points to be aware of:
- Scaffolding footprint: A standard domestic scaffold for a conservatory roof is relatively compact. It typically sits close to the conservatory walls and does not require blocking a full driveway or garden.
- Highway access: If the scaffold needs to extend over a pavement or road, a licence is required from the local Highway Authority. Professional installers handle this as part of their planning.
- Scaffold inspection: According to HSE requirements, scaffolding must be inspected before first use, then every seven days, and again after any adverse weather. Your installer manages these checks.
- Garden access: You will usually need to keep a clear pathway around the conservatory during installation. Your installer will tell you exactly what space they need.
If garden blockage is a concern — particularly for households with pets or young children — raise this directly with your installer during the planning call. Solutions such as phased access or temporary fencing can be arranged in advance.
Managing Disruption and Mess
Most homeowners are pleasantly surprised by how manageable the disruption is. That said, a good installer communicates exactly what to expect and takes steps to control it.
Dust is the most common concern. Construction work inevitably generates some debris, particularly when cutting timber battens or fitting boards. The HSE’s guidance on construction dust makes clear that dry sweeping construction debris can produce dangerous levels of airborne dust — so professional installers use controlled methods instead: damping down surfaces, using shovels and buckets rather than dry brushes, and employing vacuum extraction units fitted with appropriate filters where finer dust is generated.
Practical measures your installer should have in place:
- Protective sheeting over flooring and adjacent furniture
- A designated entry and exit route to minimise tracking through the house
- Waste bags or bins on-site for all removed materials
- A clean-up at the end of each working day
For households with pets: Keep pets in a separate part of the house during installation. Tools, open access points, and unfamiliar activity can be unsettling for animals. If your installer needs to move through the property to access the conservatory, arrange a clear, gated route in advance.
For households with young children: The same applies. Installation areas should be treated as a work site — no children in the conservatory or immediate access area during working hours.
In most cases, the rest of your home remains fully usable throughout the installation. The work is contained to the conservatory and the immediate exterior.
Weather Protection and Seasonal Considerations
Weather can affect both the timing and the quality of a conservatory roof installation. Understanding how professional installers manage this will help you set realistic expectations.
The HSE is unambiguous on roof work in poor conditions. Its guidance on working at height states that roof work should not proceed in rain, ice, frost, or strong winds — particularly gusts — or where slippery conditions exist. Winds above 23mph (Force 5) affect a worker’s balance, and any responsible installer will pause exterior work under these conditions.
This means that if your installation is scheduled for a day with poor weather, your installer may need to delay the external elements. This is not a failing — it is the correct decision.
How delays are typically handled:
- Internal work can often proceed while exterior access is paused
- Installers monitor forecasts and communicate proactively
- A domestic building contract should clearly define what constitutes a weather delay and how rescheduling is managed
Seasonal considerations:
- Autumn and winter installations are perfectly achievable, but shorter daylight hours and a higher likelihood of adverse weather mean that projects may take an extra half-day compared with summer installations
- Spring and summer installations benefit from longer working days and generally more predictable conditions
- If your conservatory is leaking or has existing damage, address this before booking insulation work — fitting insulation over a compromised roof structure creates problems further down the line
Whichever time of year you book, a well-prepared installer will have contingency plans in place and will keep you informed if schedules need to adjust.
Post-Installation: Handover and Final Checks
The installation isn’t complete until you’ve walked through the finished work and are fully satisfied.
What a professional handover includes:
- A walkthrough of the completed insulation with the lead installer
- Confirmation that all areas are covered, sealed, and finished
- Checks that ventilation is adequate to prevent condensation
- Review of any building regulations documentation or compliance certificates
- Explanation of the warranty terms for both materials and workmanship
- Guidance on any routine maintenance (usually minimal for insulated panel systems)
Your responsibilities at handover:
- Inspect the finish carefully before signing off — look for any gaps, uneven cladding, or areas that don’t look properly sealed
- Ask about condensation management, particularly if your conservatory was prone to it before installation
- Confirm you have received all documentation in writing
If you spot anything that needs attention, flag it before the team leaves. Reputable installers include a defects period in their contracts — a defined window after completion during which any issues are remedied at no additional cost.
Keep all documentation in a safe place. If you sell your home, a prospective buyer’s surveyor may ask for evidence that insulation work was carried out to building regulations standards.
Homeowner Preparation Checklist
The smoother you prepare, the faster and cleaner the installation goes. Use this checklist in the days before your installation date.
Inside the conservatory:
- ☐ Remove all furniture, plants, and decorative items
- ☐ Take down any blinds or curtain rails if requested by the installer
- ☐ Clear window ledges and storage shelves
- ☐ Roll up or remove rugs or loose flooring
Access and outdoor space:
- ☐ Clear a pathway around the conservatory exterior
- ☐ Move garden furniture, planters, or play equipment away from the work area
- ☐ Arrange temporary accommodation for pets during working hours
- ☐ Confirm with the installer exactly where their vehicle and materials will be positioned
Admin and logistics:
- ☐ Confirm the installation date, start time, and expected completion time
- ☐ Check whether a building regulations application has been submitted and what the inspection process involves
- ☐ Ensure someone over 18 is at home for the full duration of the installation
- ☐ Have the installer’s contact number saved in case of queries on the day
- ☐ Review your contract for details on weather delay policies and the defects period
After installation:
- ☐ Keep the conservatory well-ventilated for the first 24–48 hours if any adhesive or sealant has been used
- ☐ Check the finished installation after the first period of rain to confirm waterproofing is intact
- ☐ File all paperwork, warranties, and compliance documents
Preparing thoroughly doesn’t take long, and it makes a real difference to how the day runs.
Ready to Plan Your Installation?
Knowing what to expect makes the whole process easier. A conservatory roof insulation installation — when carried out by experienced professionals — is a well-managed, typically one-day job that transforms how you use the space for years to come.
The key to a smooth experience is planning: confirming the structural survey, understanding the building regulations requirements, arranging access, and knowing what the team will do to protect your home during the work.
Book an installation planning call today. Our team will walk you through the process for your specific conservatory, give you a clear timeline, and answer any questions you have before a single tool comes out of the van.
Frequently Asked Questions
How long does a conservatory roof insulation installation take?
Most internal conservatory roof insulation installations are completed within one day. Full tiled roof replacements typically take two to three days, depending on the size of the conservatory and weather conditions.
Do I need building regulations approval for conservatory roof insulation?
In most cases, yes. The Planning Portal confirms that significant changes to thermal elements normally require Building Regulations approval. A professional installer will manage this process on your behalf, but you should confirm this is included before work starts.
Will scaffolding block my garden or driveway?
For internal insulation jobs, scaffolding requirements are usually minimal. For full roof replacements, a compact scaffold is typically positioned close to the conservatory. Your installer will confirm the exact footprint during the planning stage so there are no surprises.
Can installation go ahead in winter?
Yes — winter installations are common. However, exterior work will be paused in rain, ice, frost, or strong winds, as required by HSE guidance. Internal work can often continue during these pauses. Your installer should have a clear process for managing weather delays.
What should I do with my pets during installation?
Keep pets in a separate part of the house away from the conservatory and any outdoor access areas during working hours. Tools, open access points, and unfamiliar activity can be distressing for animals, and a contained work area is safer for everyone.
Will the installation create a lot of mess?
Professional installers use controlled dust management methods rather than dry sweeping, which reduces airborne debris significantly. Protective sheeting covers your flooring, and the team clears up at the end of the day. Most homeowners find the mess is far less than they expected.
What happens if I notice a problem after installation?
Raise it with your installer immediately. Reputable companies include a defects period in their contracts — typically a defined number of weeks after completion — during which any issues are remedied at no additional cost. Keep all documentation from your installation in case it’s needed.